
Step 1
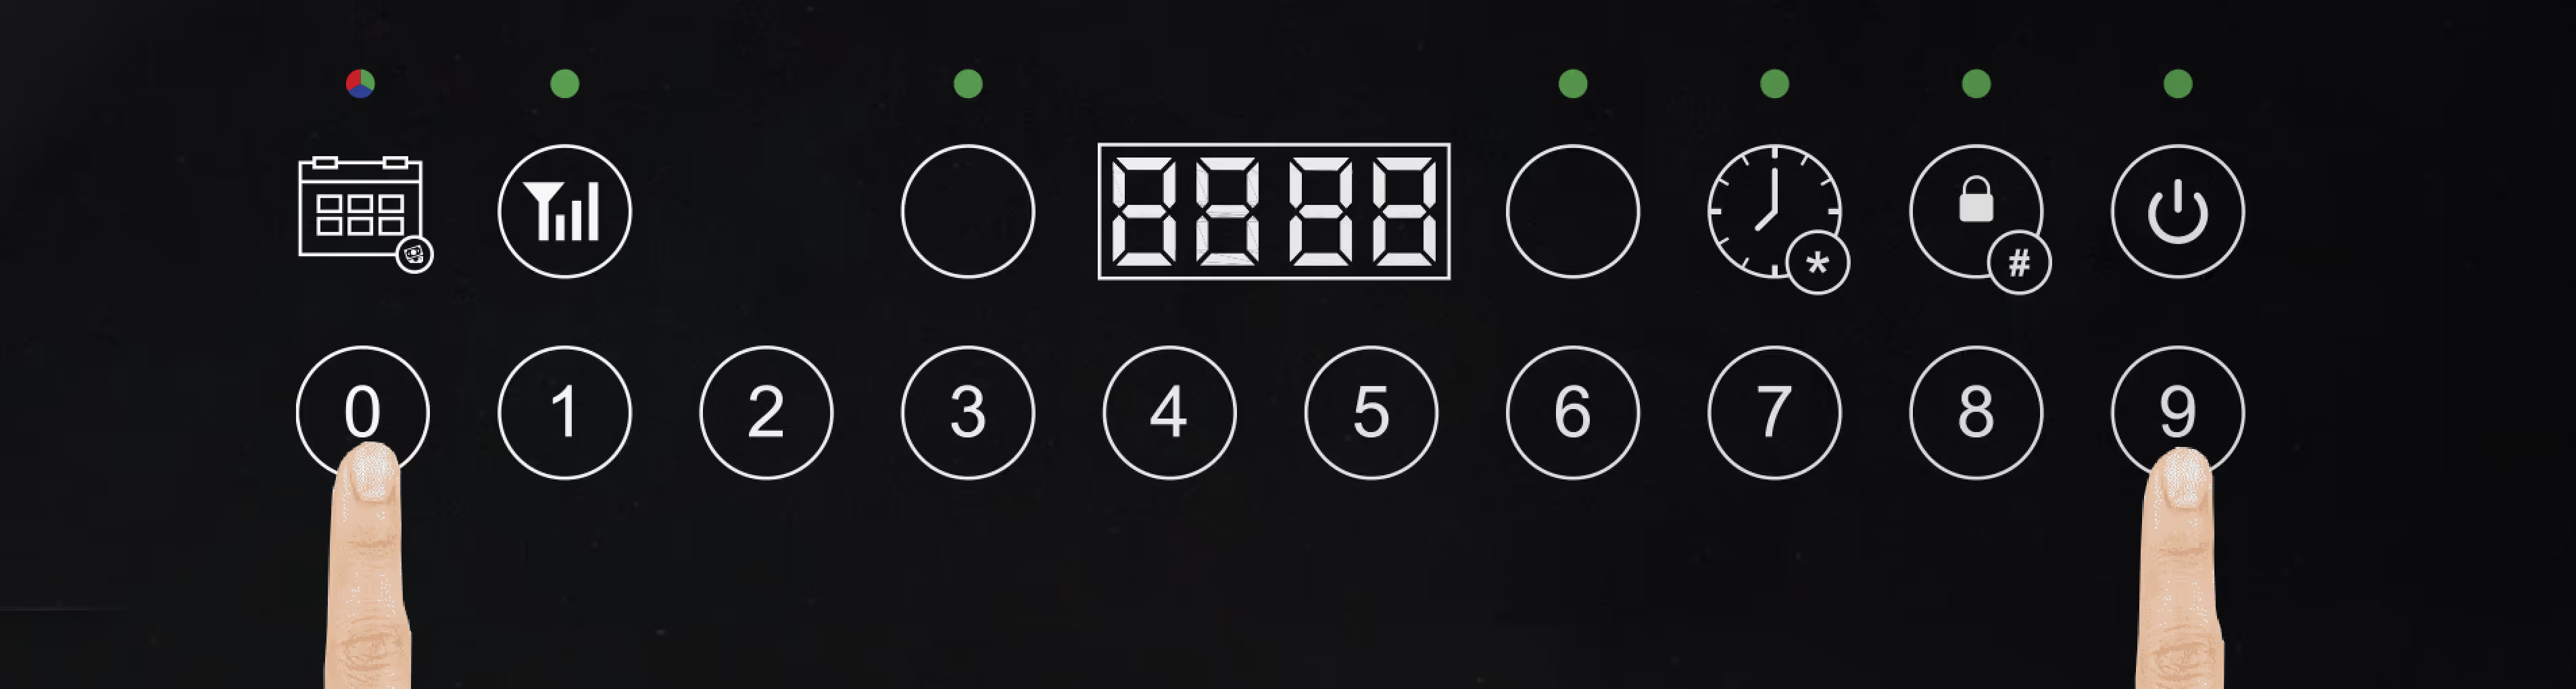
When you unpack your stove you need to take it out of sleep mode.
To do this you need to hold the 0 and 9 keys together for 5 seconds.
If successful, all of the lights on the stove will flash 5 times and the the stove buzzer will sound 5 times
Step 2
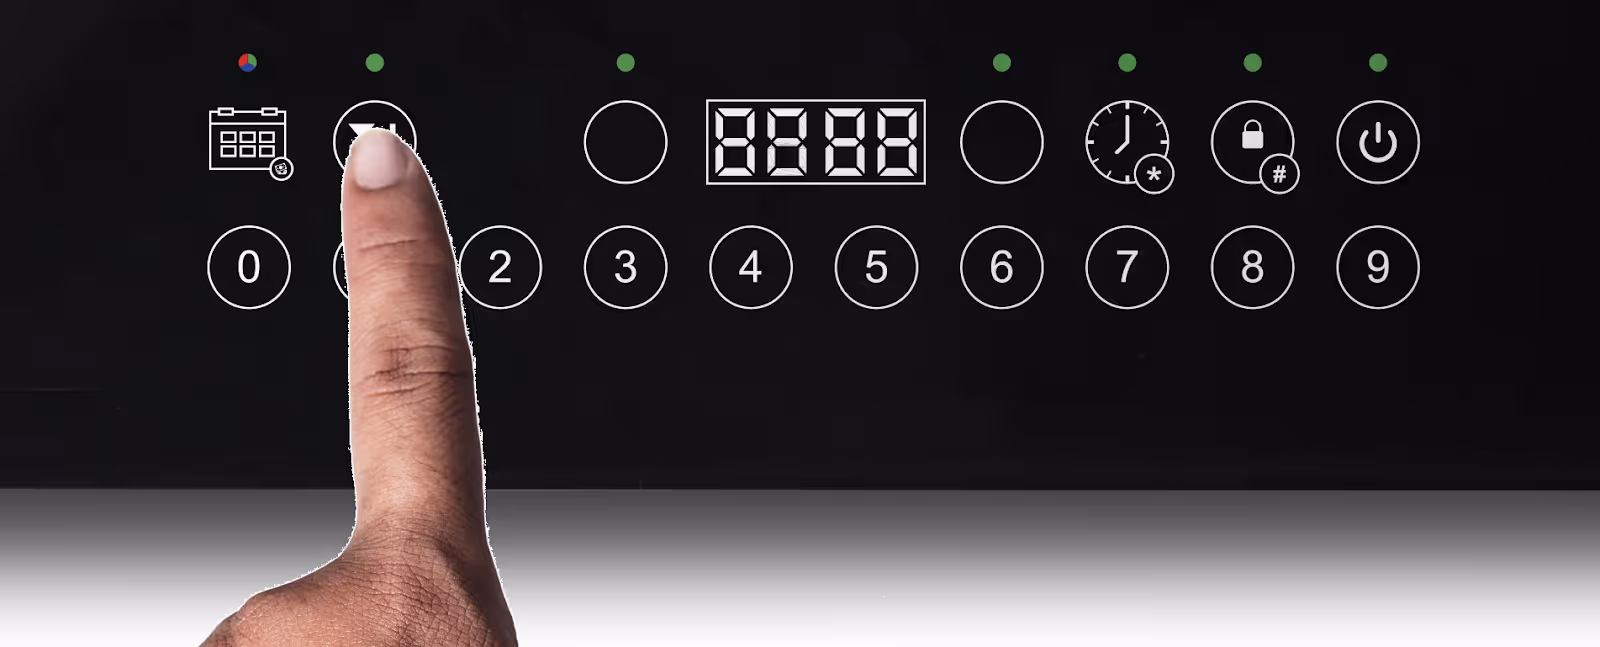
The next step is to update the credit on your stove. Press and hold the Force key (INSERT HERE) for 5 seconds until the buzzer sounds. After a couple of minutes your days remaining should appear on the screen and a steady green LED will be on the PAYG key.

Plug in your ecook and turn the stove on by pressing the power key.

Select which side of the stove you wish to control by using the circle keys to the left and right of the LED screen. To change the hotplate you want to control you can press the other circle key on the opposite side of the LED screen.

Select a cooking level that you need which you can choose from 0-9. The active cooking level will show in the LED screen.
Heat setting 0 = no heat
Heat setting 9 = maximum heat
The level of the left hotplate will show on the left hand side of the LED screen and the level of the right hotplate will show on the right hand side of the LED screen.

Turbo mode increases the power of one hotplate to cook faster.


Child Lock Key
To activate the child lock hold down the child lock key for 3 seconds, a buzzer will sound and an indicator light will appear above the lock key.
To deactivate the child lock, hold down the child lock key for 3 seconds, a buzzer will sound and the indicator light will turn off above the lock key.

Timer Key
The timer function can be used to turn the stove off after a set period of time. To activate the timer function;
To check how much time is left on the timer press the timer key and it will display the time remaining for 5 seconds
To turn off the timer before it finishes, hold down the timer key for 3 seconds.
Once the stove has turned off the stove will remain hot for a short time. ‘H’ symbols will flash on the LED screen for 1 minute as a warning.

If the stove remains on for 2 hours with no settings changed it will automatically shut off as a safety precaution. .
Never use:
Certain keys on the stove are related to pay-as-you-go (PAYGO) features.
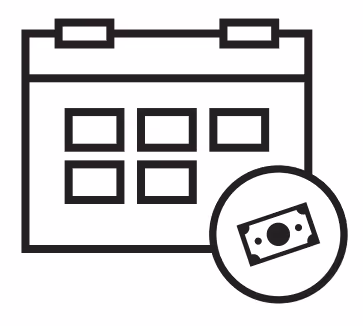
PAYGO Key - used to check days remaining and initiate manual keycode entries
Sync Key - used to sync the stove when a payment is made. Should be pressed shortly after a payment is made via mobile money
Star Key- The timer key also functions as the star (*) key and is used at the beginning of manual keycode entry if required.
Hash Key- The lock key also functions as the hash (#) key and is used at the end of manual keycode entry, only used when manually entering a keycode
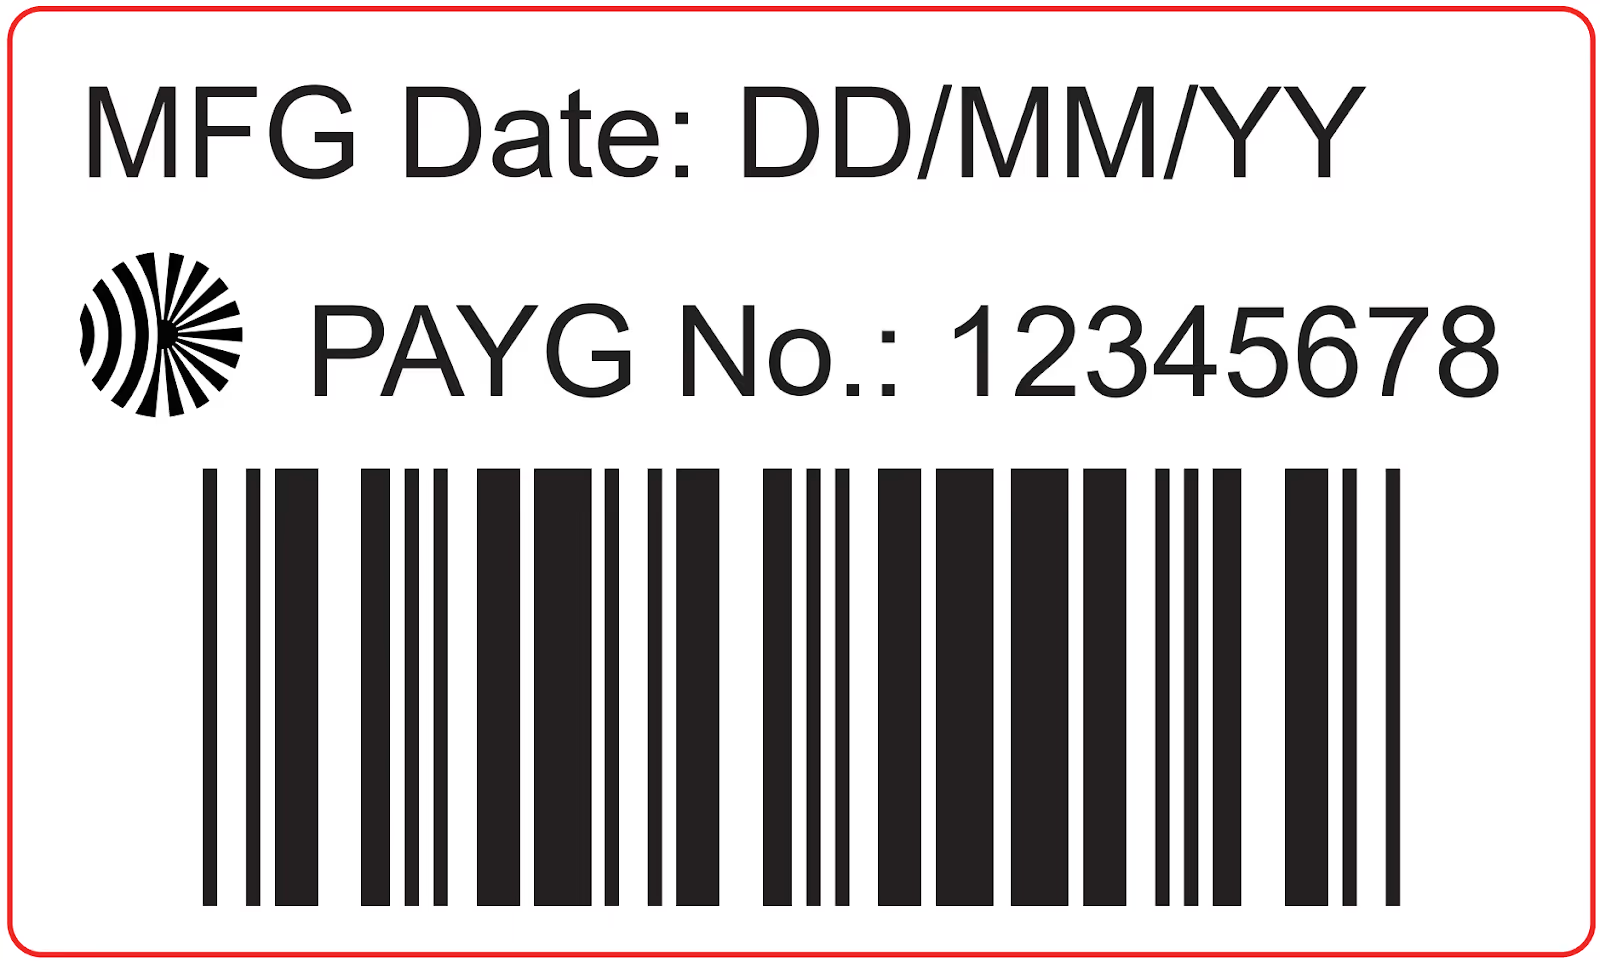
Payments should be made either in person at a mobile money location or on the mobile money provider’s mobile application. The PAYG No., found on the sticker on the side of the stove, should be referenced when making payment. They PAYG No. is an 8 or 9 digit number. Refer to the example sticker below.
Every time a payment is made, ‘Force Sync’ should be pressed on the stove which results in payment records being updated immediately and any new credit being added to the stove immediately.
Depending on the stove location, the SYNC might not complete successfully. We encourage you to give it a few attempts from an area in your home with good phone reception. If still unsuccessful, you will need to manually enter the activation codes you get by SMS.
To enter an activation code,
Press the Paygo key followed by thestar (*) key, type the 14 digits code from phone SMS and press the hash (#) key.
The LED screen will display the new stove credit in days.
To check the number of days remaining before payment is due, press the PAYGO key and the days remaining will display on the LED screen for 10 seconds.
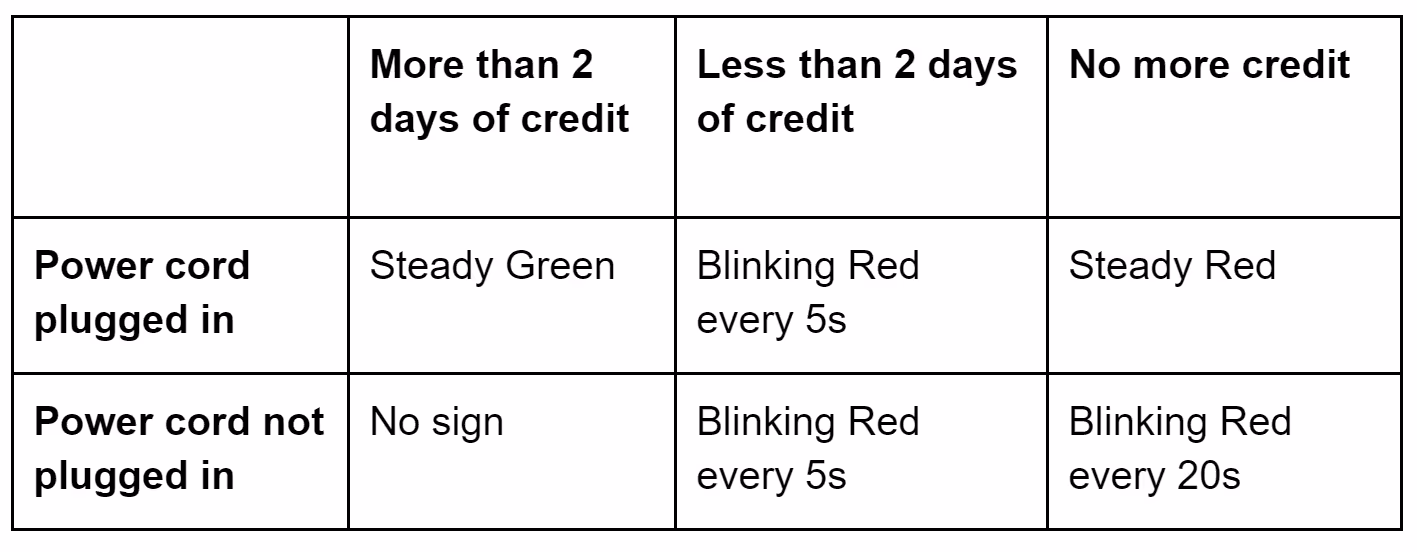
The LED next to the PAYGO key will start blinking when the stove is about to run out of credit.
If you find any issue or have any questions, please call our in-country service after sale hotline, the number can be found on your warranty card
The stove has some internal features to protect both the user and the stove hardware. These are displayed on the LED screen should they occur.